Formal Do-Over || Being My Own Fairy Godmother

Let's turn back the clock eight years (*cringe*) and go back to my Formal. All of the Prom tutorials and Prom Get Ready With Me videos floating around these days have made me think back to my Formal in my final year of high school. I made me think of what I could have done for it. Not done differently. Actually done for it. I took a lot of shortcuts for my Formal as I didn't want my parents spending a lot of money. They forked out enough for my dress. We found my dress so close to the date that needed altered toots-sweet which drove the price up. I didn't do the whole limo arrival or beauty routine. I was more concerned about the dress and shoes.
For my hair and makeup, you'll be shocked to know, I didn't do anything. I simply washed and straightened my hair myself and I don't even recall if I did anything makeup wise. I didn't own any makeup and I didn't know the first thing about makeup. All of my classmates left school after lunch for their beauty appointments. I stayed and went to my Spanish class like the first class nerd that I am. At the time, I didn't care because I still scrubbed up well. I got compliments on my dress and how different I looked outside of our school uniform. Even when I went to a Formal at university, I had no makeup. However, I did have my hair curled by my hairdresser.


Now, after a full year of being interested in and learning about makeup, I feel like I can go back to eighteen-year-old me and say, "let's have a Formal Do-Over. Bippity, boppity, boo!". I'm being my own Fairy Godmother. Let's do this, Cinders!

T H E L O O K
I've already taken care of my foundation - I used L'Oreal Mattifying Infallible Foundation in the shade Porcelain. I then filled in my eyebrows with my L'Oreal Brow Artist in the Light to Medium kit, I also primed my eyelids using Rimmel's Lasting Finish Concealer in Porcelain. I applied it over my eyelids to cancel out any discolouration so that the eyeshadows would show up. I set my eyelids with my L'Oreal True Match powder (Rose Ivory)
The vast majority of the eyeshadows I'll be using are from Sleek's iDivine Ultra Mattes (v2) eyeshadow palette. This palette is a regular feature on my blog so it's no surprise that I'm using it for this look. I hadn't planned on it. I just sat down and filmed and it just happened.


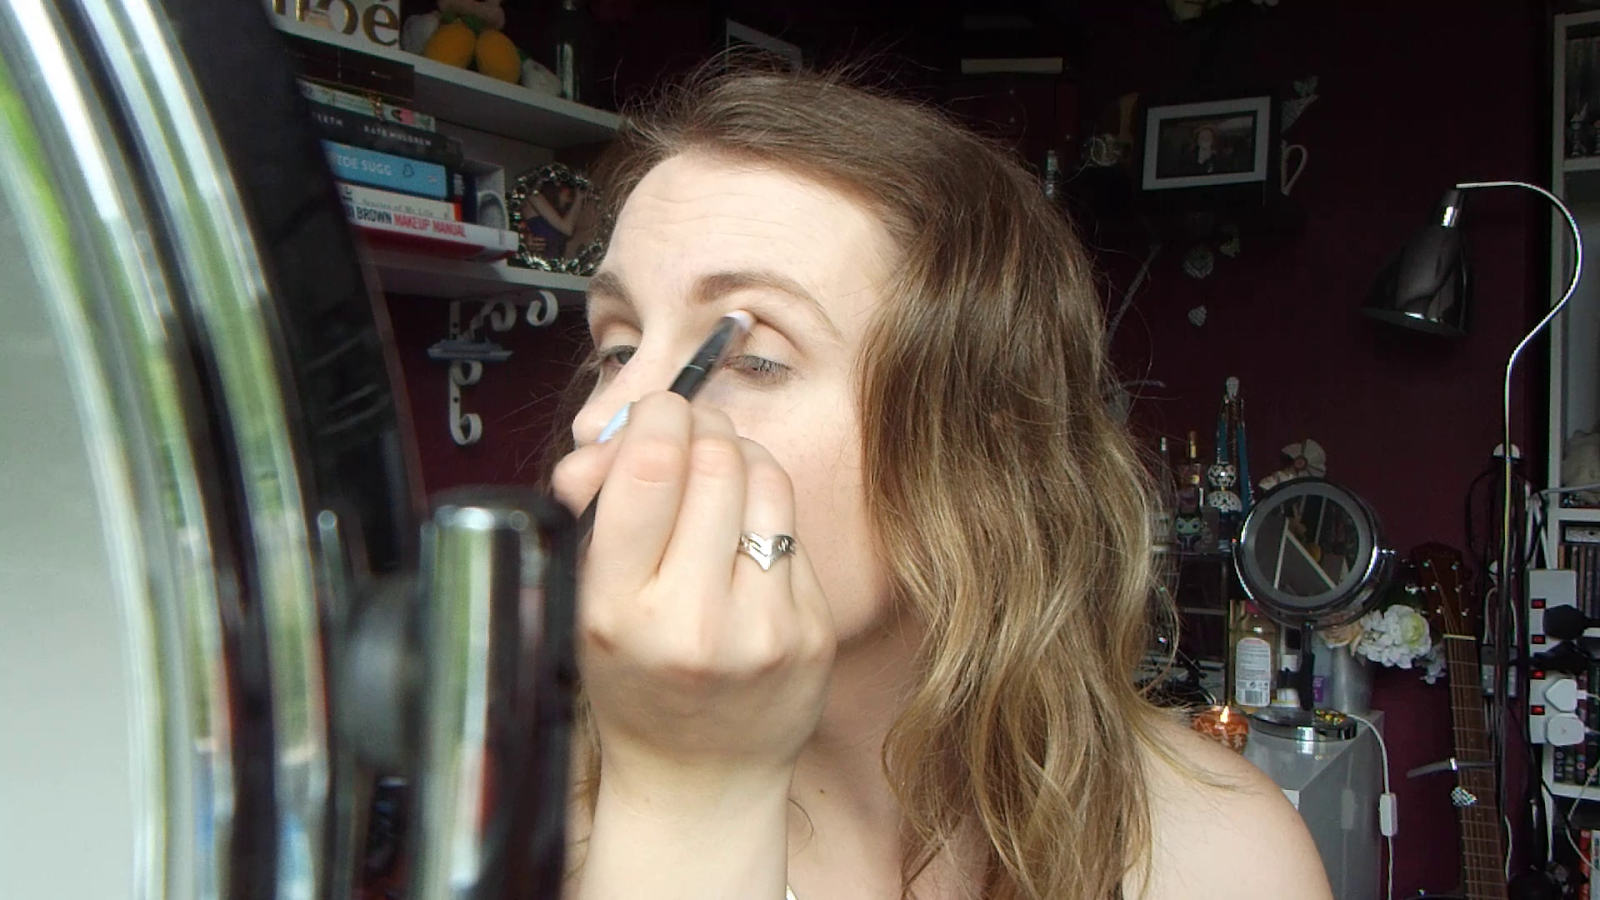
To start with, I took Flesh, a peach-toned shadow, on my Sephora Crease Shadow Brush and blended this into my crease. Use any fluffy brush that you have. This has been my go-to transition shade brush since I bought it in Barcelona.


To follow that, on the same brush, I took the matte brown shadow called Paper Bag from the palette. Again, I applied this to my crease and kept blending it until I got it to the opacity that I wanted.


I wanted a more of a cut-crease look and so I took Dune, a skin-toned shadow, on my KIKO 203 flat eyeshadow brush. I applied this all over my lid, going to just below the crease and skimming the outer corner.


Using my Real Techniques Bold Metals Pointed Crease Brush, I used MAC's Espresso matte shadow and used this to darken up the crease only. This is a great brush to really carve out that crease.


Time for a lil bit of cat-eye action. I used Maybelline Lasting Drama gel eyeliner in Black with my Real Techniques silicon liner brush. I bought this brush last week as my beloved Fine Liner brush is becoming a bit disheveled and I needed that precision back in my life. So, using this new baby, I lined my upper lash line, drew the flick and connected the lines. I drew a thicker flick than I normally would because this is Formal and we can afford to go a bit bolder.

I lined my tightline and waterline with Rimmel's Special Eyes Precision eyeliner pencil in Black. I went about half-way across my waterline, just enough to define it.


After curling my eyelashes, I used Seveteen's FalsifEye HD mascara* on my lower lashes. I then coated my top lashes with Maybelline's The Rocket mascara. These mascaras create the perfect look when used together. I love the precision of the Seventeen mascara and the drama of the Maybelline one.


To highlight, or attempt to highlight, my inner corner and brow bone, I took this shadow from Bourjois in the shade 08 on the KIKO brush from before. I'm one of these girls that doesn't really have a brow bone. My jealousy is tangible.
Now for the rest of my face.


To conceal those unsightly bags, I first took the Rimmel Lasting Finish concealer, and using my middle finger, blended this out in a triangle shape from my inner corner downwards. I then took it down and around my nose.


To add some more coverage, I took my Urban Decay Naked concealer in Light/Warm. I applied this in another triangle shape as I wanted to brighten my under eye area as well as conceal. I used my EcoTools concealer brush to buff this out.


Then to brighten even more, because all of that beforehand wasn't enough, I broke out a oldie but a goodie. I used my L'Oreal Lumi Magique Stylo Touche De Lumiere (long name) in 1 Light. I drew several lines of this over my cheeks, nose and forehead before blending it out with my Real Techniques Setting Brush.


I set everything using my L'Oreal True Match Pressed Powder, Rose Ivory shade. I used a combination of my Real Techniques Contour brush (to set the concealers) and Real Techniques Powder Brush (to set the rest of my face).


Next onto bronzing and contouring (I hope). I first used my Body Shop Honey Bronzer (Fair Matte) on my Real Techniques Sculpting Brush. I put this just under my cheekbones, going about a third of the way between my ear and mouth, and blended it upwards, before taking it to my temples, hair line and jaw line.


Then to define that guiding contour line a bit more, I used the bronzer from my Urban Decay Naked Flushed palette (Streak) on that same sculpting brush.


For blush, I used Orgasm by NARS on my DeliPlus Polvos brush. I dusted this onto my cheeks and blended it out so that my cheeks had that soft hue to them.


Using the domed end of my No7 Contour & Highlight brush, I took the highlighter from the Urban Decay Naked Flushed palette and applied it lightly to my cheekbones.


Because my dress was black for my Formal, I had always dreamed of wearing a bold red lip with it. I couldn't deny myself that this time around. I took the Burgundy Pure Colour lip liner pencil from New Look's beauty range. I used it to line my lips and fill them in. This is a cool-ish toned red liner.


To amp up my lips, I took a matte red lipstick from NYX. I used the shade, Pure Red. I used a Real Techniques Detailer Brush to clean up the edges.


Top: New Look.
Blazer: Boohoo [old]
Necklace: New Look.
Nail: Barry M Eat My Dust
This isn't what I wore to my Formal. This is just what I wore to film this video.
There you have it, my completed Time Machine Fairy Godmother Warp Formal Do-Over Look. I really love how this turned out and I would definitely have worn this for my Formal. If my dress still fits, I may actually do this on my holiday in June as there will be Formal Dinner Evenings onboard Vision of the Seas. Let me know what you think as I would love to know your thoughts.

Disclaimer: Seventeen FalsifEye HD mascara gifted by a Twitter Giveaway by Boots.com
Gifs of Disney's Fairy Godmother from Google search.
Comments
Post a Comment